
Inside the Making of OEM/ODM 3D printed wall panel solutions
A single change order placed after sampling, rather than after production, saves an average of three weeks on a 3D printed background wall panel programme and almost all of the rework. What follows explains how the product is actually made, because the process is where most of the performance is decided. Design files are archived, so a replacement panel printed a year later matches the original. For projects with several locations sharing a pattern, printing the whole requirement in one campaign reduces the unit cost noticeably.
Setup time dominates the cost of a very small order, which is why the second and third panels of the same design cost much less than the first. Because there is no tooling to amortise, a single wall or a short-run project is commercially viable. Minimum quantities are set by the printing setup rather than by a mould, so they are far lower than for a conventional moulded panel.
Relief depth is chosen with the final lighting conditions in mind.
Buyers specifying OEM/ODM 3D printed wall panel solutions usually begin with the application rather than the surface, because the position decides the material long before the finish does. Hand painting suits one-off artworks, while printing suits a design that has to be repeated across rooms, floors or sites. A hand-painted mural depends on the skill of the painter on the day, while a printed panel reproduces exactly the same result every time. Maintenance differs as well: a painted surface can be touched up in place, while a printed panel is replaced as a unit.
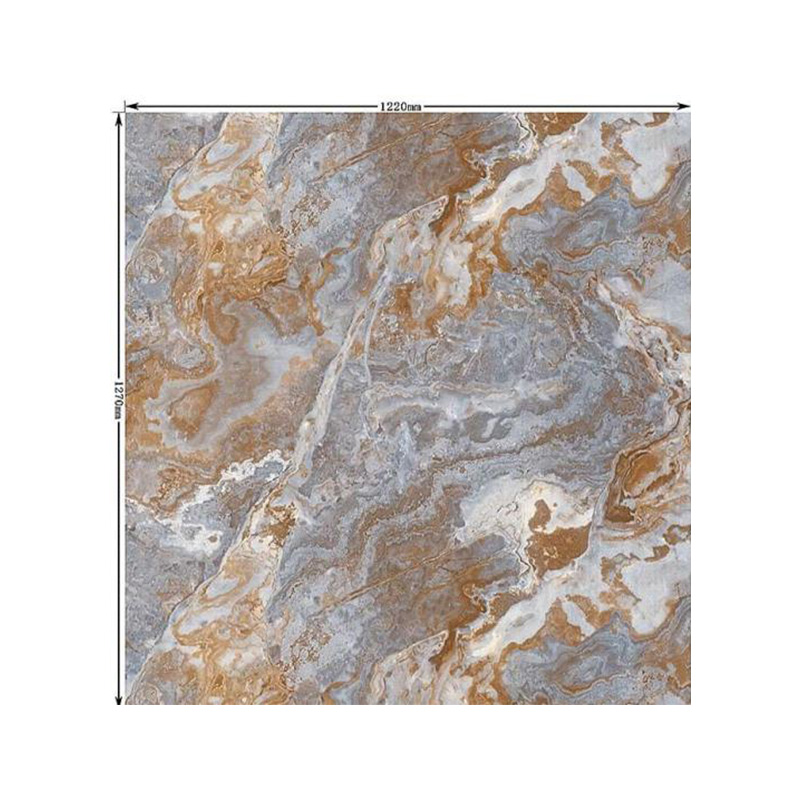
Custom patterns range from geometric repeats to a customer’s own artwork, and the artwork is redrawn to suit the depth and the panel module before printing. Small quantities are practical for the same reason that a new tool is not required, which suits branded environments and short-run retail. The pattern is built as a digital file and printed layer by layer, so a change to the design costs a file revision rather than a new tool.
- Colour consistency against the approved master sample, viewed under daylight rather than office lighting
- Dimensional tolerance measured at three points along each panel, not only at the centre
- Moisture content of the incoming raw material before it is released to the line
- Surface finish and print registration checked across neighbouring panels in the same bundle
Layer lines are controlled by the print parameters, and a well-tuned print shows a clean edge rather than a stepped surface. Sharp internal corners are avoided in the design where possible, because a radius produces a stronger and cleaner result. The proof stage exists precisely to check depth, edge quality and pattern alignment before the order is committed.
- Confirm the application, the substrate and the traffic the surface will face
- Agree the material build and the measurable tolerances, in writing
- Approve the physical colour sample under the lighting of the final space
- Run a pilot batch and hold a reference panel from it
The market for OEM/ODM 3D printed wall panel solutions has shifted towards lighter, faster-to-install systems that reduce wet trades on site. Printing indoors versus printing onto a laminated surface changes the durability, and the choice should follow the application. Where a project has an indoor air quality target, the ink and the substrate should be assessed together rather than separately. Inks are selected for low emission and are cured rather than left to evaporate, which reduces the residual solvent in the finished panel.
A small registration mark on the panel edge is normally hidden by the joint and is used only during setting out. It is worth separating the two, because they fail in different ways. Where the wall is uneven, a batten frame is used so the relief plane stays true and the pattern does not distort. Panels are cut at the perimeter to fit the opening, and the cut edge is finished with a trim or an edge return.
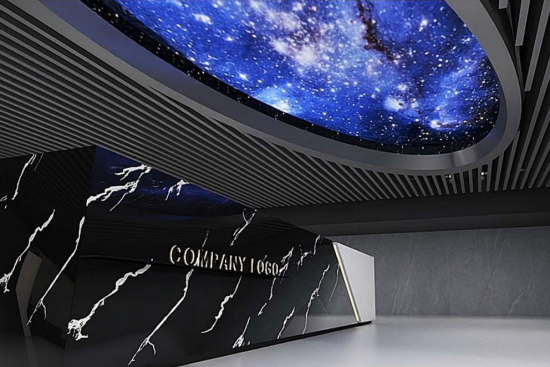
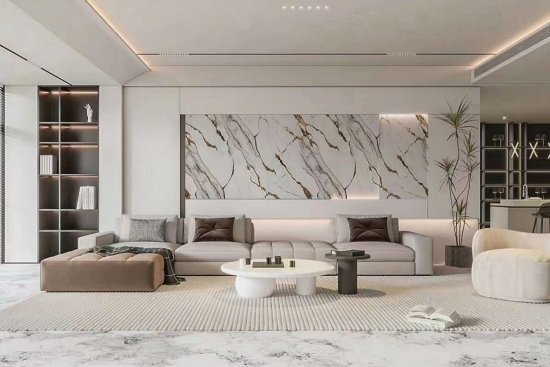
In practice, OEM/ODM 3D printed wall panel solutions are chosen on measurable properties rather than on catalogue photographs, and the difference only becomes visible over years. Panels are installed in sequence according to a layout drawing, because a pattern continues across the wall and cannot be corrected at the end. If any of this matches a project you are working on, a short message with your specification is usually enough for us to tell you what we would run and why.